블로그 프로젝트를 할 때 어떤 텍스트 에디터를 사용할지의 고민은 빼놓을 수가 없다.
이전에 CKEditor를 써본 적이 있는데, 개인적으로 편리하진 않았어서 다른 에디터를 써보고 싶었다.
후보는 여러 가지가 있었다.
- react-quill
- TinyMCE
- Toast UI Editor
- Summernote
티스토리에서는 TinyMCE를 사용하는 듯 해서 TinyMCE랑 마지막까지 고민했는데, 디자인이나 기능이 우리 프로젝트에 더 적합하다고 판단되는 Toast UI Text Editor로 결정하였다.
▪ 설치
npm install @toast-ui/react-editor

npm install @toast-ui/editor-plugin-color-syntax
- 기본은 @toast-ui/react-editor고, @toast-ui/editor-plugin-color-syntax는 코드 블록 디자인을 위해 추가로 설치했다.
▪ 에디터 기본 설정
import '@toast-ui/editor/dist/toastui-editor.css';
import 'tui-color-picker/dist/tui-color-picker.css';
import '@toast-ui/editor-plugin-color-syntax/dist/toastui-editor-plugin-color-syntax.css';
import '@toast-ui/editor/dist/i18n/ko-kr';
import { Editor } from '@toast-ui/react-editor';
import colorSyntax from '@toast-ui/editor-plugin-color-syntax';
import { HookCallback } from '@toast-ui/editor/types/editor';

const toolbarItems = [
    ['heading', 'bold', 'italic', 'strike'],
    ['hr', 'quote'],
    ['ul', 'ol', 'task'],
    ['table', 'image', 'link'],
    ['code', 'codeblock'],
];

export default function TextEditor({
    onChange,
    contents,
    isEmpty,
}: {
    onChange: (content: string) => void;
    contents: string;
    isEmpty: boolean;
}) {
    const editorRef = useRef<Editor>();

    useEffect(() => {
        if (editorRef.current) {
            if (editorRef.current instanceof Editor) {
                const editorInstance = editorRef.current.getInstance();

                if (contents && editorInstance.getHTML() !== contents) {
                    editorInstance.setHTML(contents);
                }
            }
        }
    }, [contents]);

    useEffect(() => {
        if (isEmpty) {
            editorRef.current?.getInstance().focus();
        }
    }, [isEmpty]);

    const handleChange = () => {
        const content = editorRef.current?.getInstance().getHTML();
        if (content) {
            onChange(content);
        }
    };

    return (
        <Editor
            ref={editorRef}
            height="80vh"
            initialValue=""
            placeholder="내용을 입력하세요"
            initialEditType="wysiwyg"
            hideModeSwitch={true}
            plugins={[colorSyntax]}
            toolbarItems={toolbarItems}
            language="ko-KR"
            onChange={handleChange}
        />
    );
}
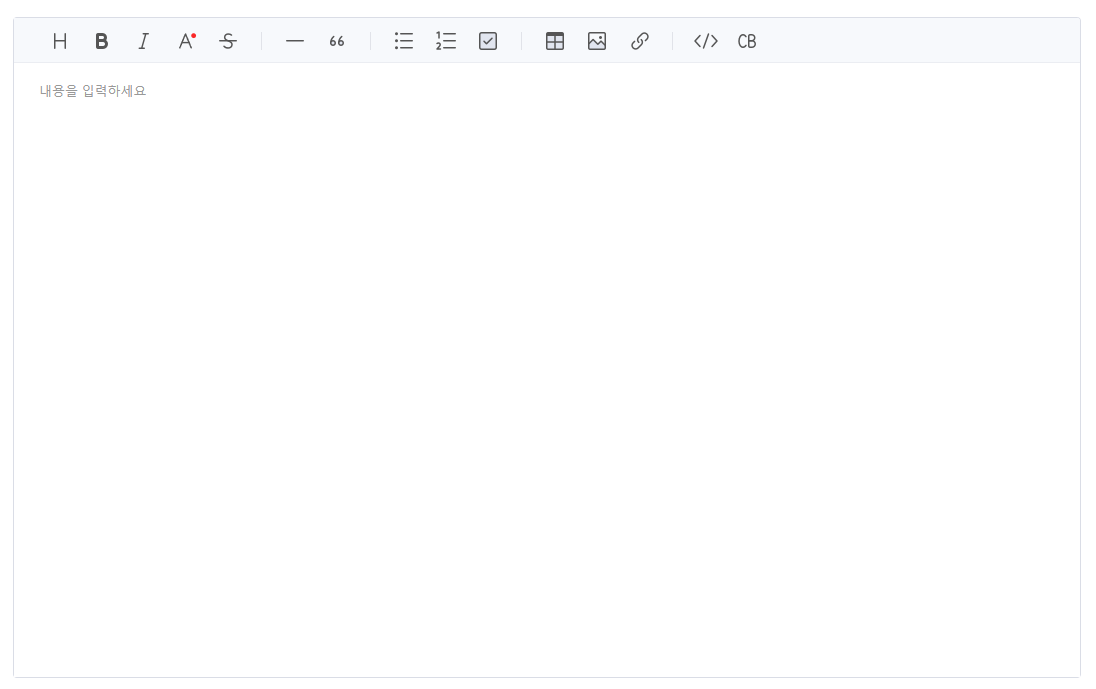
텍스트 에디터를 가져다 쓰기 편하게 컴포넌트로 분리해 두었다.
toolbarItems를 간편하게 원하는 것들만 사용할 수 있어서 만족스러웠다.
const options = {
  // ...
  toolbarItems: [
    ['heading', 'bold', 'italic', 'strike'],
    ['hr', 'quote'],
    ['ul', 'ol', 'task', 'indent', 'outdent'],
    ['table', 'image', 'link'],
    ['code', 'codeblock'],
    ['scrollSync'],
  ],
}
기본 툴바! (https://github.com/nhn/tui.editor/blob/master/docs/ko/toolbar.md 참고)
추가로 설정할 수 있는 옵션들은 공식 문서에 잘 나와있다.
개인적으로 toast ui는 공식 문서가 굉장히 잘 되어 있어서 좋다.
https://nhn.github.io/tui.editor/latest/ToastUIEditorCore
https://nhn.github.io/tui.editor/latest/ToastUIEditorCore/
RETURNS: { Array. >Array. } - Returns the range of the selection depending on the editor mode
nhn.github.io
▪ 이미지 업로드
    <Editor
        ref={editorRef}
        height="80vh"
        initialValue=""
        placeholder="내용을 입력하세요"
        initialEditType="wysiwyg"
        hideModeSwitch={true}
        plugins={[colorSyntax]}
        toolbarItems={toolbarItems}
        language="ko-KR"
        onChange={handleChange}
        hooks={{ addImageBlobHook: handleImageUpload }}
    />
이미지를 업로드 하려면 업로드 시 어떻게 처리할지 함수를 정의한 후 hooks 에 별도로 옵션을 추가해 주어야 한다.
const handleImageUpload = async (
    image: File | Blob,
    callback: HookCallback,
) => {
    const formData = new FormData();
    formData.append('file', image);

    try {
        const res = await customFetch('/temporary-image', {
            queryKey: ['temporary-image'],
            method: 'POST',
            body: formData,
        });

        const imageUrl = res.data?.filepath;
        const imageName = res.data?.orgFilename;

        if (imageUrl) {
            callback(imageUrl, imageName);
        }
    } catch (error) {
        console.log('error');
    }
};
이미지를 업로드 할 경우 임시로 저장해둘 공간이 필요하다.
그리고 게시글 최종 저장 시 백엔드에서 이미지를 발라내서 최종 게시글에 포함되지 않은 임시 이미지는 delete 하도록 처리했다.
▪ 게시글 뷰어
import { Viewer } from '@toast-ui/react-editor';

<Viewer initialValue={unescapeSpecialChars(content)} />
toast ui editor를 통해 저장한 내용은 toast ui viewer를 통해 읽어올 수 있다.
이스케이핑 되어 저장되기 때문에 읽을 때는 언이스케이핑(디코딩) 해서 넘겨주어야 한다.
const escapeMap: { [key: string]: string } = {
'&': '&',
'<': '<',
'>': '>',
'"': '"',
'\'': ''',
'/': '/',
};
export function unescapeSpecialChars(str: string): string {
return str.replace(/&|/|<|>|"|'/g, (entity) => {
for (const [char, htmlEntity] of Object.entries(escapeMap)) {
if (entity === htmlEntity) return char;
}
return entity;
});
}'Client > Next.js' 카테고리의 다른 글
| [Next.js] Sanity 사용하기 (0) | 2024.07.14 |
|---|---|
| [Next.js] Next에서 SWR 사용하기 (0) | 2024.07.12 |
| [Next.js] Next 14에서 NextAuth 사용하여 소셜 로그인 구현하기 (구글 로그인) (0) | 2024.07.09 |
| [Next.js] Redirects, Rewrite (0) | 2024.06.29 |
| [Next.js] 데이터 캐싱하기 (0) | 2024.06.27 |


